First boot configuration steps
Upon first boot of your Raspberry Pi it is good to make a number of changes to the configuration to finish setting it up. Below I provide the key steps for both the Desktop interface and when using the command line.
Table of contents
- Starting up
- The Welcome wizard
- Further configuration using the Desktop Interface
- Using the terminal
- Make sure the Raspberry Pi is fully up to date
- Remove default folders
- Install virtual Keyboard
- Enable camera view on VNC
Starting up
Make sure you have installed your Raspberry Pi, powered it up, and are either connected directly (using keyboard, mouse, and screen) or remotely using SSH. A VNC connection will only be possible after enabling this option upon first boot.
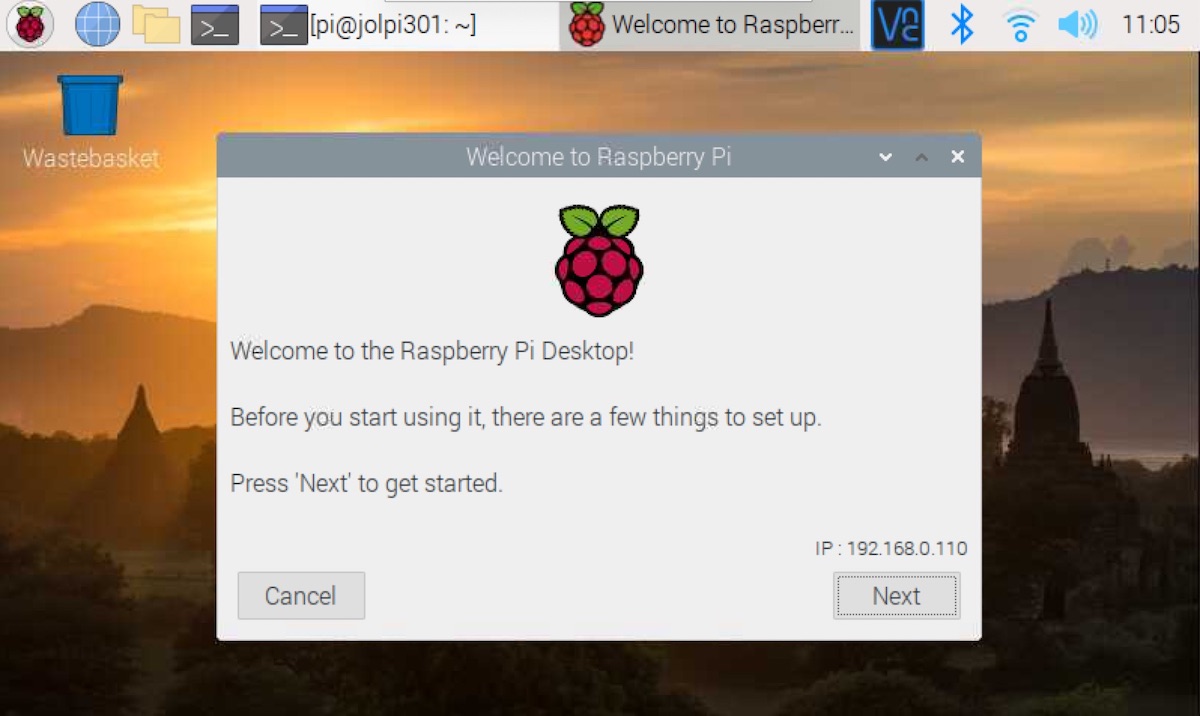
The Welcome wizard
Upon first boot, the Raspberry Pi Desktop interface launches a Welcome wizard to help with setting-up. For example it will enable you to set your Country, language, and timezone, change the default Password, make sure the screen is set up correctly, you are connected to a Wifi network, and that the software is fully up to date.
When using a headless setup, the Welcome Wizard won’t be available as you will be connected via SSH. We can then set the above configurations manually.
I actually prefer to and recommend to do the initial configuration of your Raspberry Pi manually. Especially when using a headless installation, many of the above steps may not be needed anymore. In that case we actually do not want to the Setup Wizard to show up.
To completely uninstall the Setup Wizard, in a terminal window enter:
sudo apt purge piwiz -y
If you do want to use the Setup Wizard but it is no longer showing up automatically, you can open it by running the command:
sudo piwiz
Further configuration using the Desktop Interface
If you used the Setup Wizard, there are still some further configurations to be made. If you have access to the Desktop Interface, select the Raspberry Pi symbol in the start menu, click Preferences and select Raspberry Pi Configuration.
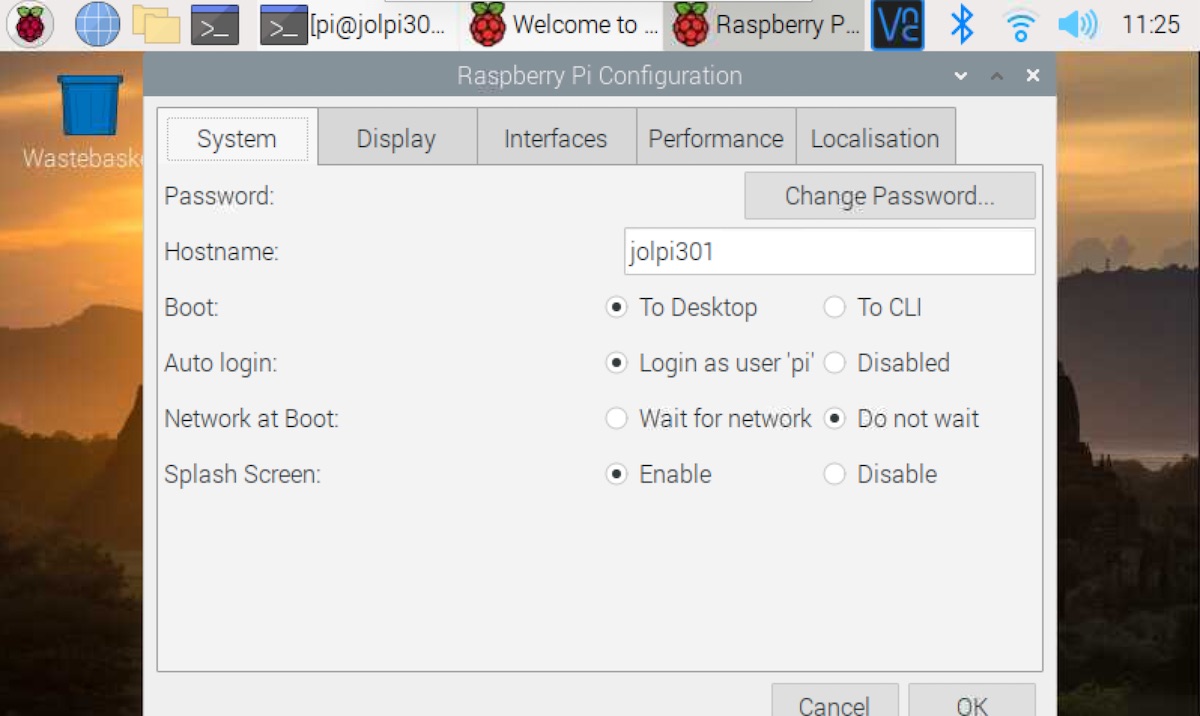
Now on the System tab, make the following changes:
- A first thing you may want to do is change the hostname (you should have already changed your password). This is especially needed if you have two or more Raspberry Pi’s to prevent name conflicts.
- Next you can decide to boot into the Desktop or a terminal window by default. When generally connected by SSH this option does not matter.
- I also tend to choose the option to have the Raspberry Pi wait for a network connection on boot, as when the Raspberry Pi starts-up before it has a connection, it will become impossible to connect remotely.
- By default the Raspberry Pi shows a splash screen at boot. I prefer to disable this and see the actual boot-up sequence commands.
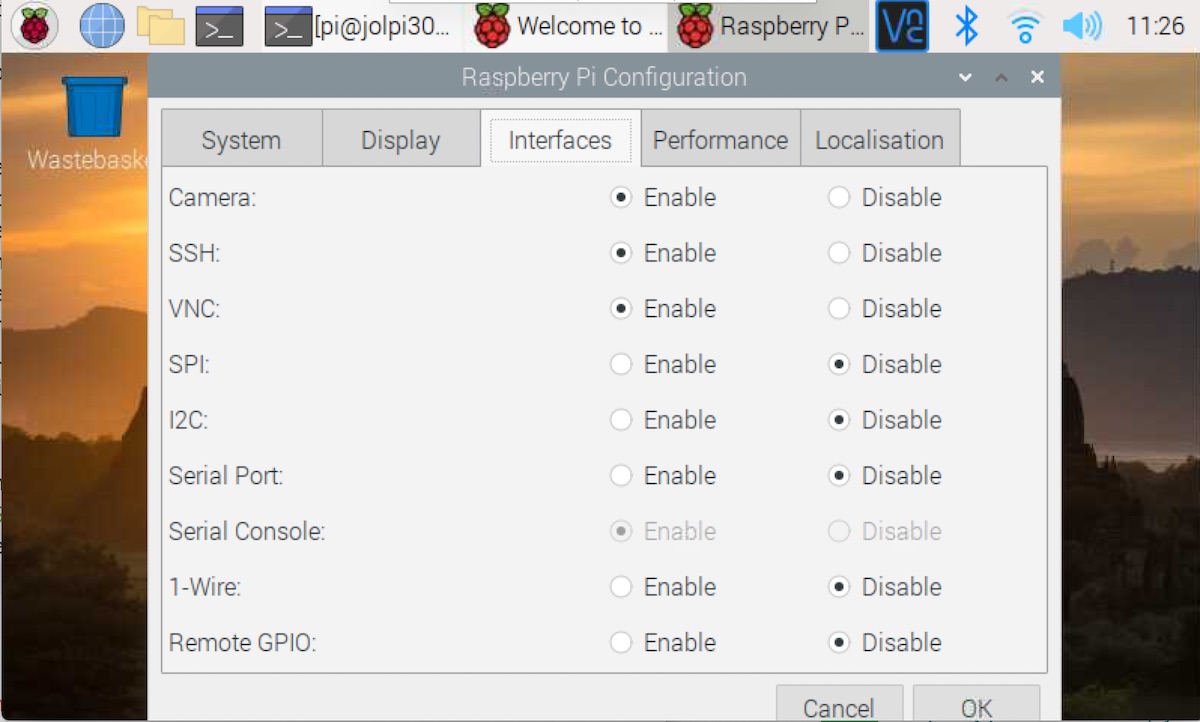
Go to the Interfaces tab and click enable for at least Camera, SSH (if not already enabled), and VNC. If you think of needing any of the other interfaces, enable those as well.
Now go to the Performance tab and change the GPU Memory to 256. This is helpful when a lot is needed from the GPU, such as when recording videos at high resolution and frame-rate.
Finally, the Localisation settings you should have already set using the Setup Wizard.
Using the terminal
When you want to configure your Raspberry Pi using the terminal, such as when using a headless setup, follow the next steps using the raspi-config tool. In a terminal window, enter:
sudo raspi-config
You can move through the menus using the keyboard arrows and use the Enter button to select an option or go Back to a previous menu. Let’s make the following changes using the 1 System Options menu:
- [
S1 Wireless Lan] Set the right credentials to connect to your Wireless network. Note this step may not be needed anymore when already connected, such as via a headless installation. - [
S3 Password] Change the default password for thepiuser. Note this step may not be needed anymore when already connected, such as via a headless installation. - [
S4 Hostname] Change the name of the Raspberry Pi how it appears on the network . This is especially needed if you have two or more Raspberry Pi’s to prevent name conflicts. - [
S5 Boot / Auto Login] Decide if you want to boot into the Desktop or console. When connecting via SSH this doesn’t really matter. - [
S6 Network at boot] I tend to choose the option to have the Raspberry Pi wait for a network connection on boot, as when the Raspberry Pi starts-up before it has a connection, it will become impossible to connect remotely. - [
S7 Splash Screen] By default the Raspberry Pi shows a splash screen at boot. I prefer to disable this and see the actual boot-up sequence commands.
I also suggest to make the following additional changes:
- [
2 Display Options>D2 Resolution] I would suggest to also choose the screen resolution to your liking. I tend to selectDMT Mode 35. - [
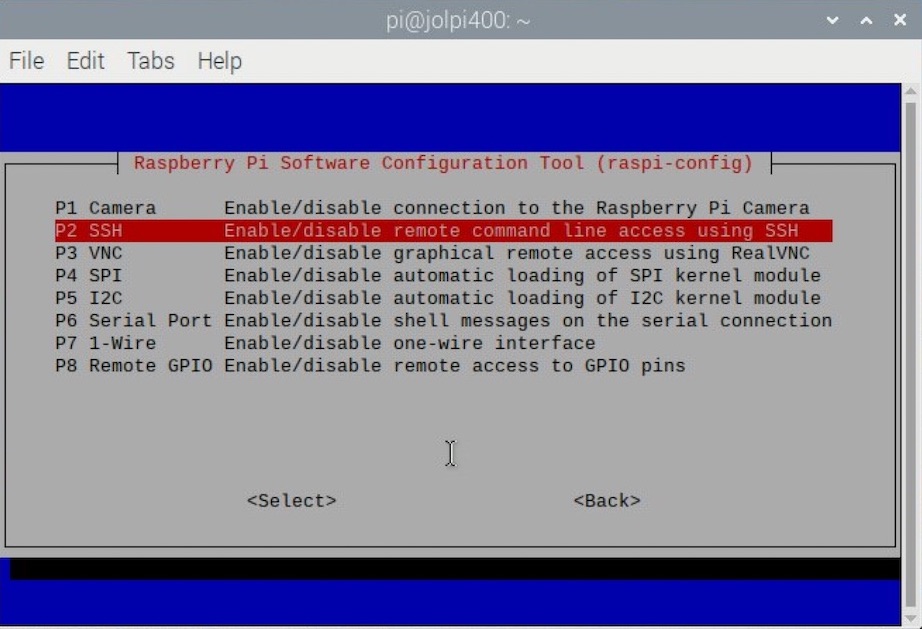
3 Interface Options] Next I recommend to enable the Camera (P1 Camera), SSH (P2 SSH), and VNC (P3 VNC) by default. SSH will already be enabled if you did a headless installation. - [
4 Performance Options>P2 GPU Memory] For some uses of the Raspberry Pi it is recommendable to increase the memory dedicated to the GPU, such as when recording videos at high resolution and frame-rate. I suggest to set this at256(MB). - [
5 Localisation Options] Choose to set your (L1 Locale),L2 Timezone, andL3 Keyboardif needed. Make sure to setL4 WLAN Countrycorrectly as otherwise your wireless connection may not work properly. - [
6 Advanced Options>A1 Expand Filesystem]. If you installed the system without the Raspberry Pi Imager or a NOOBS installation you need to expand the filesystem to be able to use all the space of the memory card.
Now click yes to reboot when asked.
Make sure the Raspberry Pi is fully up to date
If you didn’t use the Raspberry Pi wizard, we still need to make sure the Raspberry Pi is fully up to date. Check that you have a working internet connection and enter the following commands in a terminal window:
sudo apt-get update && sudo apt-get upgrade -y
sudo apt-get autoremove -y
Remove default folders
I also tend to remove some of the default folders to minimise clutter on my computer:
rm -R Bookshelf Music Pictures Public Templates Videos
Install virtual Keyboard
I recommend to install a virtual keyboard just in case I have issues with a headless setup and have the Raspberry Pi touchscreen. Simply run the command:
sudo apt-get install matchbox-keyboard -y
You can access the keyboard by going to the start menu > accessories > keyboard.
Enable camera view on VNC
If you are planning on connecting to the Raspberry Pi via VNC and want to stream the Raspberry Pi camera, you need to first enable this.
On the desktop, click the VNC icon in the menu bar and then click the lines in top right corner, go to options > troubleshooting and click Enable direct capture mode as well as Enable harwarde JPEG encoding.
Now you should be able to see a live stream of the camera when entering raspistill -t 0 -k in the terminal (exit by ctrl+x).